WSL Solar Co., Ltd.
Encapsulation is a key step in the production of solar panel (or PV Module). Without a good encapsulation process, even a good solar cell cannot produce a good solar panel. The encapsulation not only ensures the solar panel’s lifespan, but also enhances the solar panel's impact strength. The high quality and long life of the product is the key to winning customer satisfaction, so the quality of the solar panel’s encapsulation is very important.
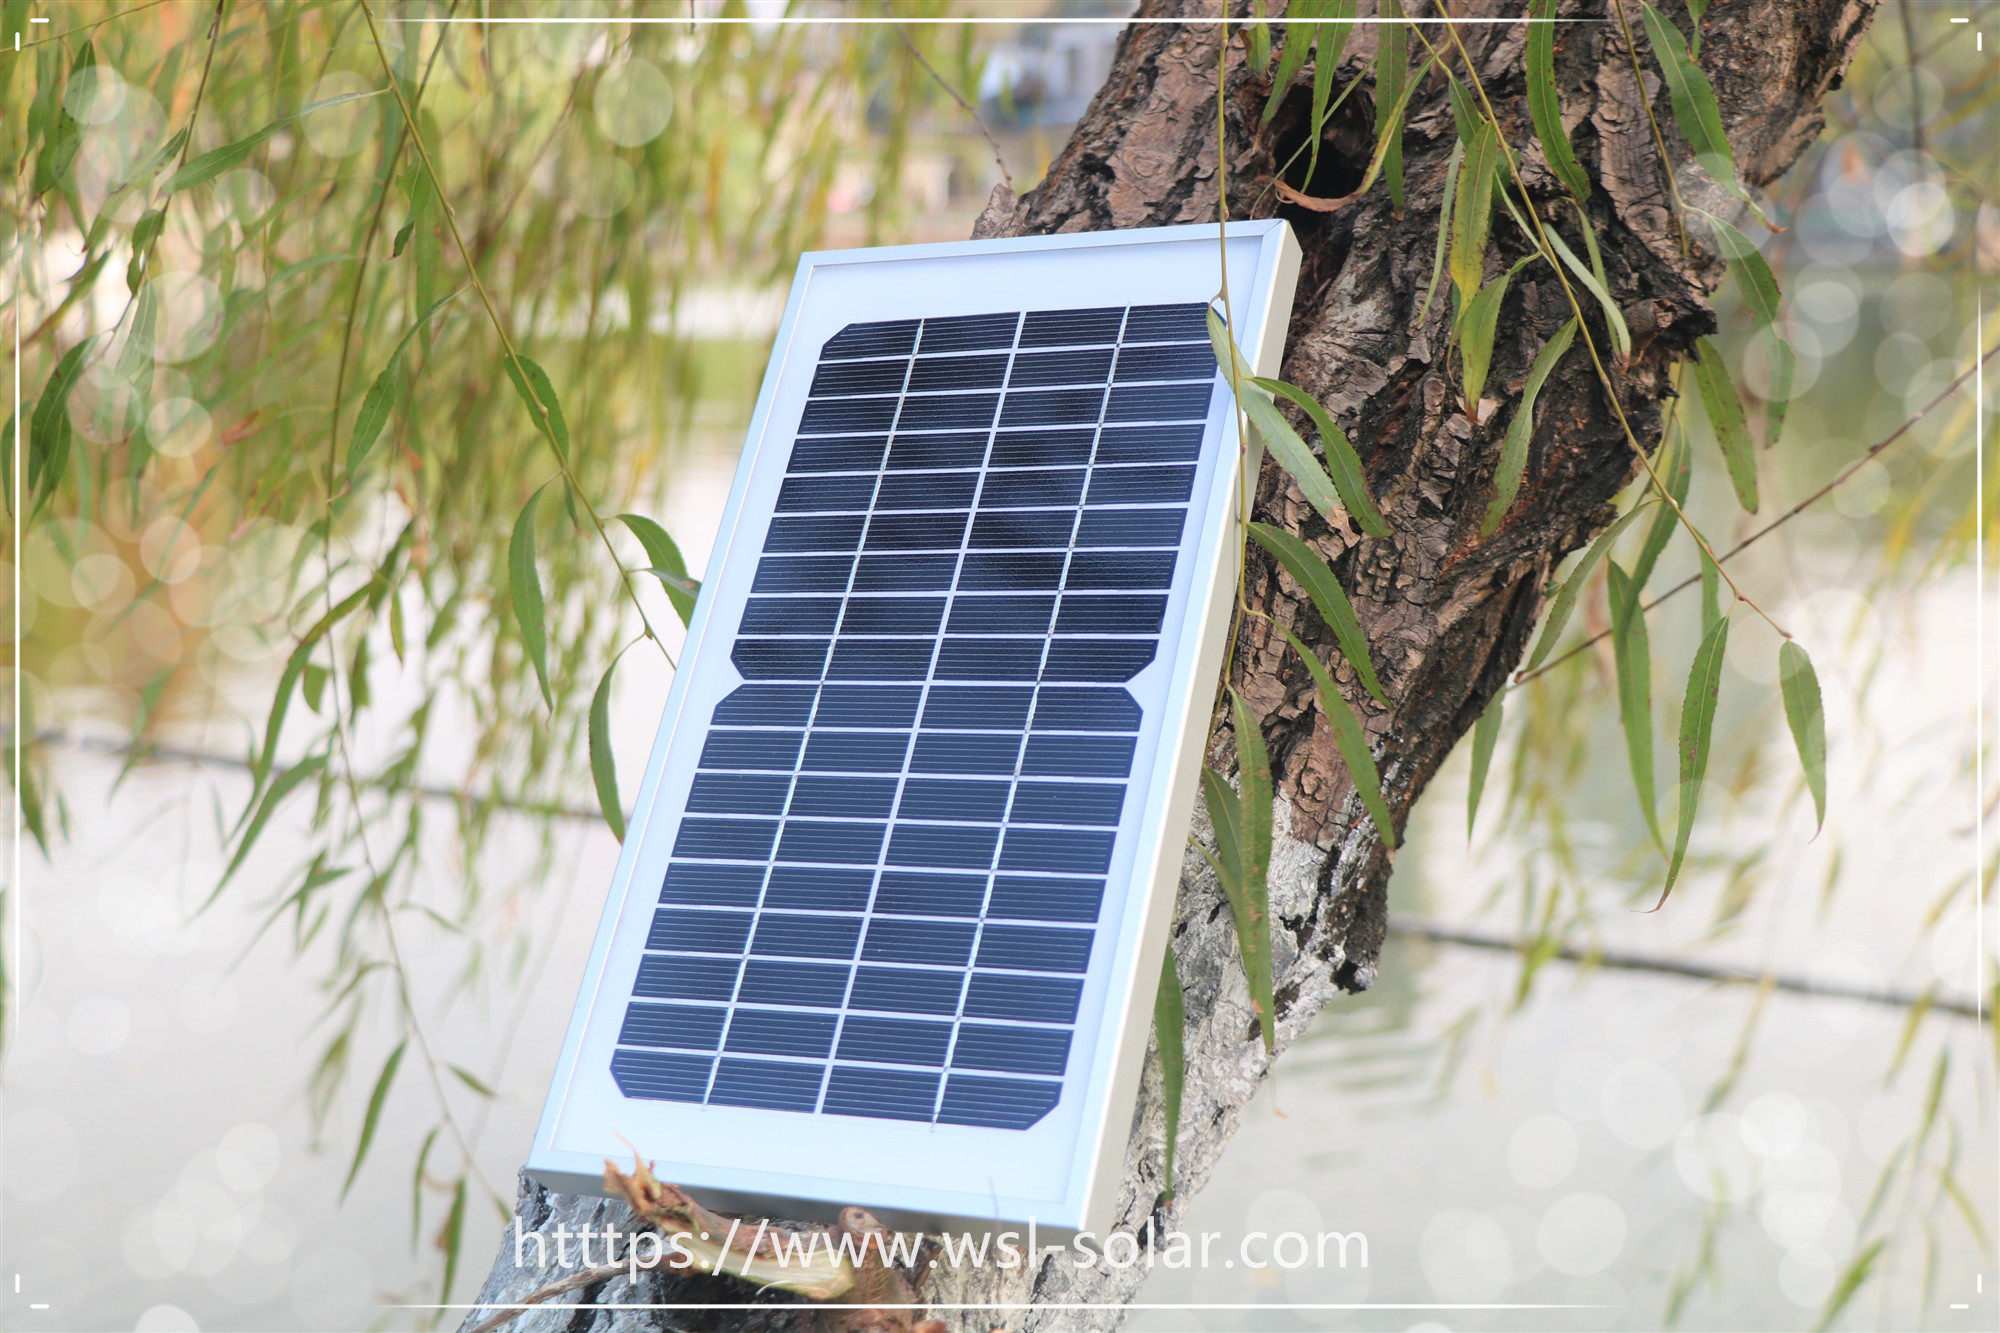
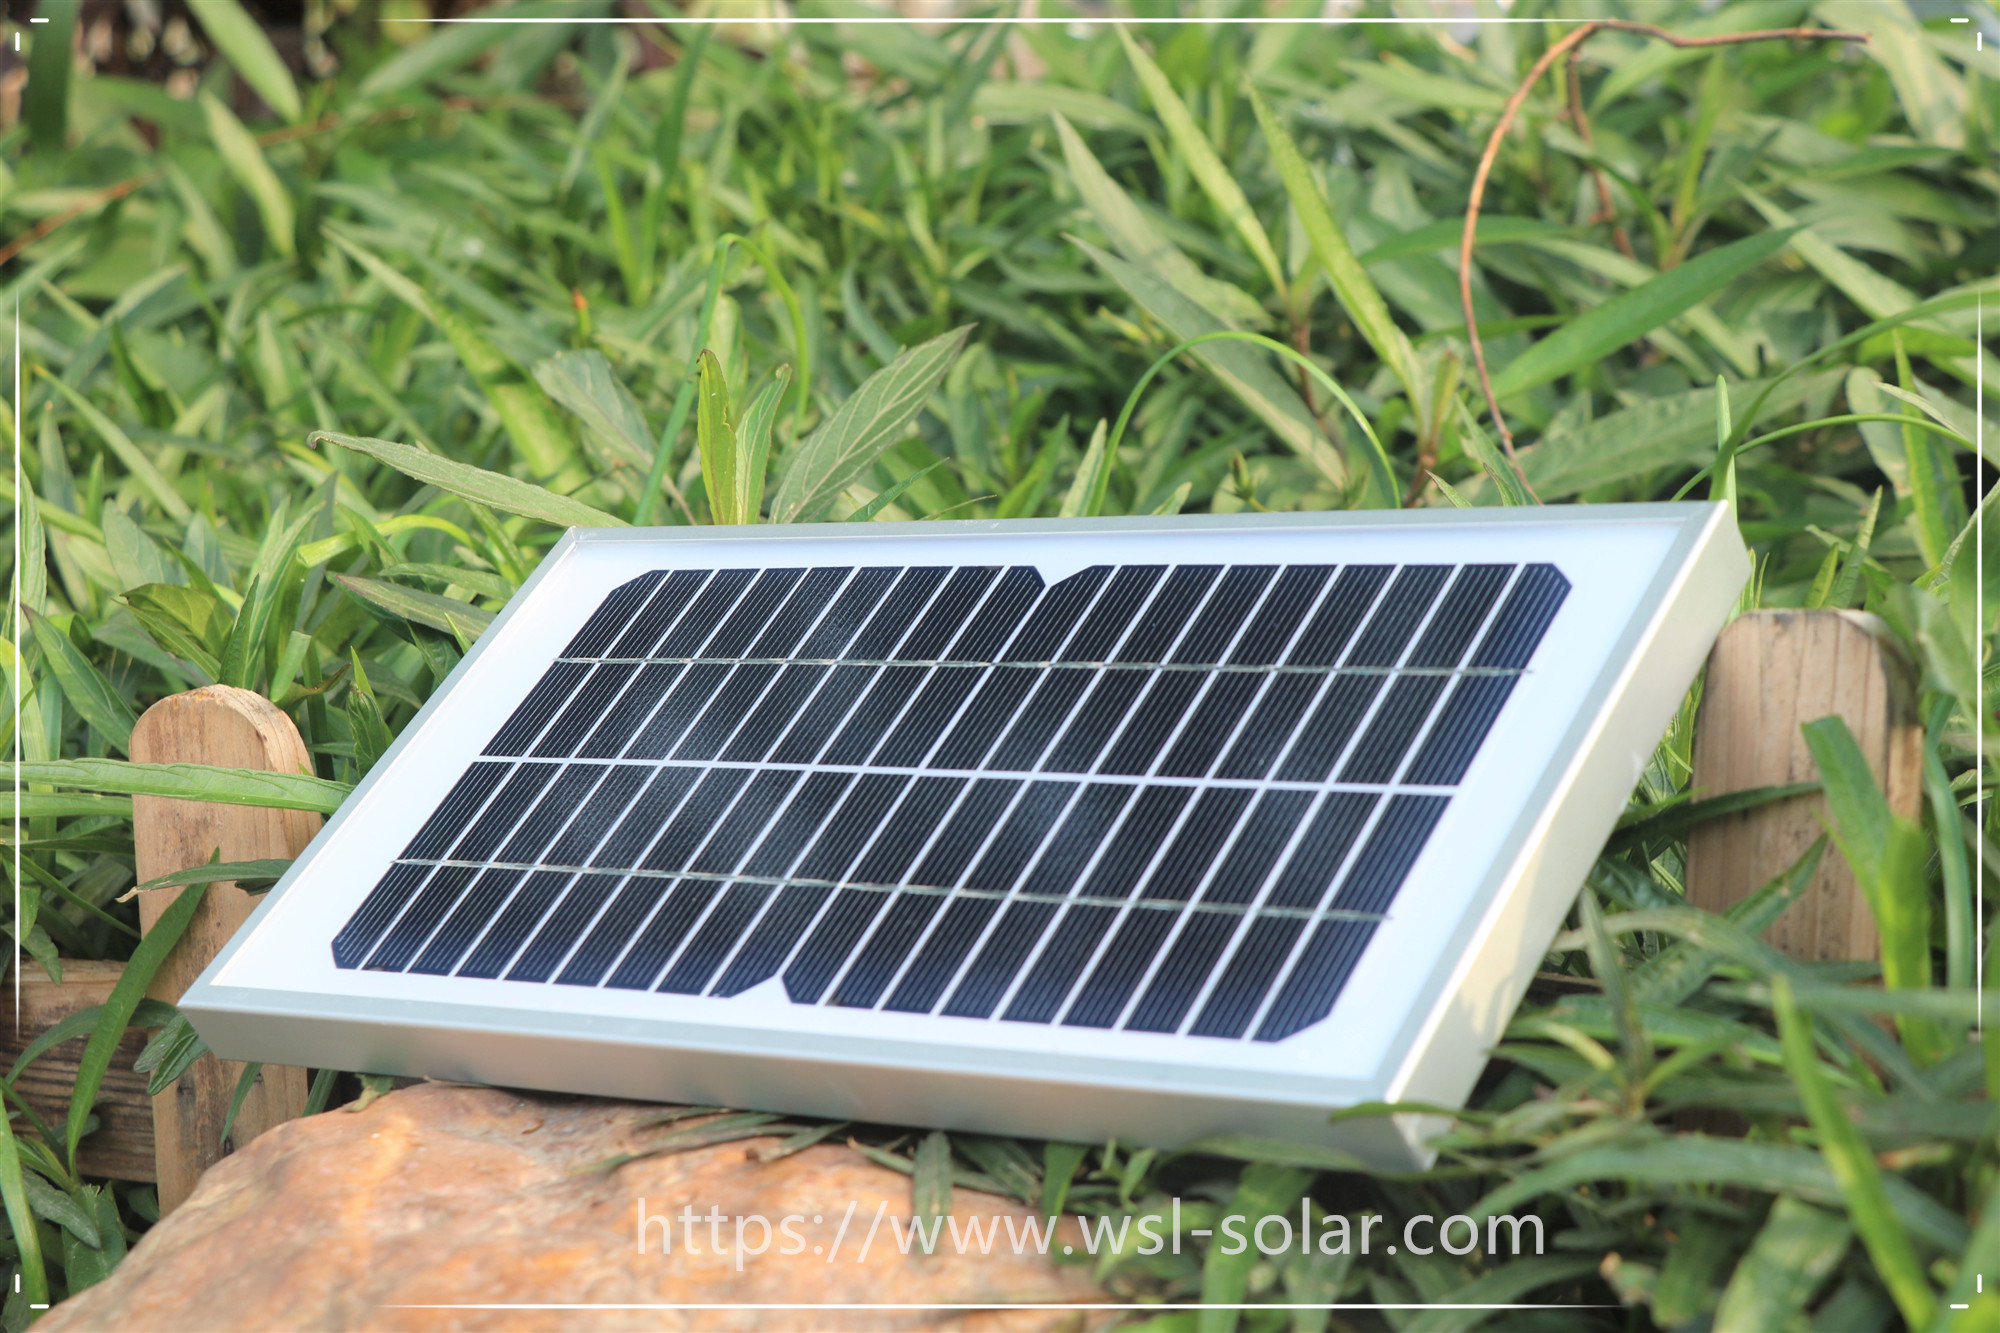
Custom Solar Panel from WSL Solar
(1) Process
Solar cell testing - front welding - inspection - back series welding - inspection - laying (glass cleaning, material cutting, glass pretreatment, laying) - lamination - deburring (de-edge, cleaning) – frame assembly (gluing, framed, scrubbing) – mounting junction box - high voltage test – PV module test - appearance inspection - packaging.
(2) Assurance measures for high efficiency and long lifespan of PV modules
High conversion efficiency & high quality solar cell; high quality raw materials, such as high
cross-linking EVA, high bond strength encapsulant (neutral silicone resin), high transmittance,
high strength tempered glass etc.
Reasonable encapsulation process, rigorous work style,
Since solar modules are high-tech products, some details in the production process, such as wear gloves are needed but not wear, or evenly brushing the reagents while finish hastily, all these will seriously affect the quality of the products, so in addition to the development of reasonable processes, employees Seriousness and rigor are very important.
(3) Introduction to solar panel assembly process
1. Solar cell test: Due to the randomness of the production conditions of the solar cell, the performance of the produced solar cell is not the same, so in order to effectively combine the solar cells with the same performance or similar performance, it should be classified according to its performance parameters; Test the solar cell's output parameters (current and voltage) to classify them, in order to improve the utilization rate of the solar cell, and produce a qualified solar module. If one or a few low-power solar cells are placed in a solar module, the output power of the entire solar module will be reduced. Therefore, in order to minimize the loss of parallel connection of the solar cell, it is necessary to combine the cells having similar performance into solar pv modules.
2. Welding: Generally, solar cells are connected in series to form a solar cell string. Traditionally, silver flat wires are generally used to form the joints of the solar cells, and then connected by spot welding or welding (using infrared lamps, using the thermal effect of infrared rays). Now, 60% of Sn, 38% of Pb, and 2% of Ag-plated copper flat wire (having a thickness of about 100 to 200 μm) are generally used. Since lead is toxic, 96.5% copper and 3.5% silver alloy are now increasingly used. However, when welding with this alloy, the welding temperature should not be too high, and the welding time should not be too long, otherwise it will lead to the growth of the weld crystal, the strength is reduced or the solar cell is broken. There should be a good fit and proper clearance between the welded joints, and the joints should be smooth and firm. It is required that the cells in series are evenly spaced and have the same color.
3. Back series welding: At present, the commonly used process for back series welding is manual. The positioning of the solar cell mainly depends on a die plate. There are slots for placing the solar cell. The size of the slot corresponds to the size of the solar cell. The position of the slot has been designed and the modules of different specifications are available. Using a different template, the operator solders the front electrode (negative electrode) of the "front solar cell" to the back electrode (positive electrode) of the "back solar cell" using a soldering iron and solder wire, so that solar cells are sequentially connected in series, and the leads are soldered to the positive and negative poles of the cell string.
4. Laminated laying: After the back side is connected in series and passed the inspection, the solar cell string, glass and cut EVA, glass and back sheet are laid at a certain level and ready for lamination. When laying, ensure the relative position of the solar cell string and glass and other materials, adjust the distance between the solar cells, and lay the foundation for lamination. Laying level: from bottom to top: glass, EVA, solar cell, EVA, glass, back plate.
5. Solar module lamination: Place the laid solar module in the laminator, evacuate the air from the solar module by vacuuming, then heat to fuse the EVA to bond the solar cell, glass and backing plate together; finally, cool and remove the solar module. The lamination process is a key step in the production of solar modules. The temperature and time of lamination are determined by the nature of the EVA. When using fast curing EVA, the lamination cycle time is approximately 25 minutes. The curing temperature was 150 °C. It is required that the solar cell in the laminated PV module is free from chipping, cracking, and obvious displacement, and the EVA between the edge of the PV module and any part of the circuit has no bubble or delamination channel, and the EVA cross-linking degree is good.
6. Trimming: When laminating, EVA melts and solidifies outward due to pressure to form a burr, so it should be cut off after lamination.
7 Frame: Frame assembly for the laminated solar module, similar to attaching a frame to the glass, in order to increase the strength of the solar module, further sealing the solar module and extending the life of the PV module. The gap between the frame and the glass component is filled with silicone resin. The frame is made of stainless steel or plastic. The module consists of a frame and a junction box. For every 1m2 module produced, the energy consumption of the aluminum frame will increase by 215 kW•h. In order to reduce costs, frameless photovoltaic modules are now becoming more common. Clamping bolts are typically used to secure the module to the support structure and sometimes to the glue. The use of frameless modules largely reduces energy requirements and carbon dioxide emissions.
8. Solder junction box: Solder a junction box at the back of the pv module to facilitate connection of the module to other equipment or connection between modules.
9. High-voltage test: It means that a certain voltage is applied between the frame of the PV module and the electrode lead to test the pressure resistance and insulation strength of the component to ensure that the pv module is not damaged under the harsh natural conditions (lightning strike, etc.).
10. PV module Testing: The purpose of the test is to calibrate the output power of the solar pv module, test its output characteristics, and determine the quality level of the module. The international IEC standard test conditions are AMl.5, 100MW/m2, 25°C. It is required to detect and list the following parameters: open circuit voltage, short circuit current, operating voltage, operating current, maximum output power, fill factor, photoelectric conversion efficiency, series resistance, shunt resistance and I-U curve etc.
Author: Carrie Wong
From WSL Solar Co., Ltd.
WSL Solar has been a quality and professional manufacturer of custom solar panels (or PV modules) and solar solution provider in China since 2006. With our in-house R&D team and management team for over 10 years' experience in solar industry, we are able to design and develop a customized solar panel in a variety of sizes, shapes and outputs to meet our client's specific requirement, and provide solution support start from initial product development stage. For more detail, please visit https://www.wsl-solar.com/ .
WSL Solar has been a professional manufacturer of custom solar panel and solar solution provider in China since 2006.
Add: Building D2, Huigao Science and Technology Innovation Park, No. 46 Chuangxing Road, Gaobu Town, Dongguan City, 523273 China
Phone: +86 769 2332 2355
Email: info@wsl-solar.com